Skip to content
  New year sale is live! →


If you’re wondering about Webflow to create a client portal, you’re in the right place. From login pages to personalized dashboards, Webflow gives you all the tools to build a client portal from scratch.
In the next steps, we’ll cover layout planning, user pages, CMS setup, file sharing, and optional payment integration.
How to Create a Client Portal in Webflow: Step-by-Step Guide
Once you create a client portal, you’ll have better collaborations with clients. They can navigate easily, collaborate, and complete payments within the platform. Let’s check out how to build it in Webflow.
Step 1: Plan the Structure of Your Client Portal
Before jumping into Webflow, take a moment to note down the features. A solid client portal should include:
- A login system – Each client should have their own credentials to access the portal securely.
- A dashboard – Shows project updates, deadlines, and billing information.
- File-sharing functionality – Let clients upload and download documents directly from the portal.
- Task management – Show assigned tasks, progress updates, and status in real-time.
- A messaging system – Keep communication in one place without relying on email threads.
- Billing and payments – Clients should be able to view invoices and complete payments within the platform.
Step 2: Set Up a New Webflow Project
With your feature list in hand, it’s time to build.
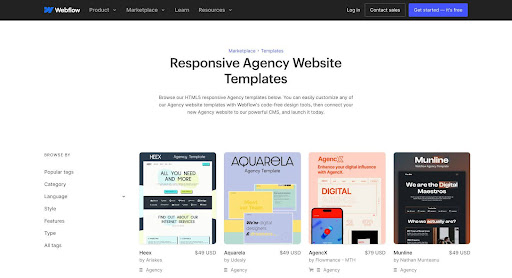
- Log in to Webflow, then click “New Project” to begin from scratch.
- Choose a layout that fits your portal requirements, ensuring space for login pages, dashboards, and client communication areas.
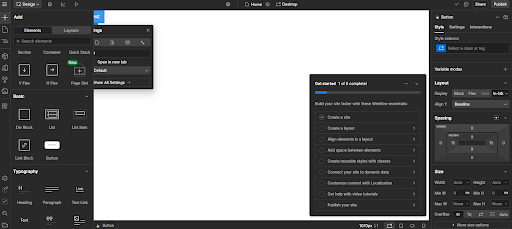
- Open the Webflow Designer to brand the portal. Adjust the colors, typography, and layout to reflect your agency’s visual identity.
Step 3: Create User-Specific Pages for Clients
Your portal should provide a personalized experience for each client.
- Login Page – A secure sign-in page with authentication integration.
- Dashboard Page – Show orders, project status, assigned tasks, files, and deadlines
- Profile Page – Clients can update their personal information and preferences.
- Support Page – A help section where clients can raise tickets or requests.
Step 4: Use Webflow CMS for Managing Client Data
Webflow’s CMS (Content Management System) can help you organize client-specific content.
- Create a CMS Collection to store client details, uploaded files, and invoices.
- Add fields for client names, projects, and assigned tasks.
- Use CMS filtering to display only relevant content to each client.
This approach is perfect if you’re looking for a no-code client portal builder.
Step 5: Enable File Uploads and Secure Document Sharing
Next, you should focus on having proper file management. An excellent client portal will let you and your clients upload and view files in real time.
- Use Webflow’s File Upload feature for document sharing.
- Connect with Google Drive, Dropbox, or Airtable for cloud-based file management.
- Set permissions so each client only sees their files.
Step 6: Set Up a Payment System
You’ve wrapped the project. Sent the files. The client’s happy.
Now it’s time to get paid. You can add a payment system right inside the portal. No more chasing.
Here’s what worked for us:
- Open your Webflow project
- Head to the Integrations tab
- Pick a gateway—Stripe, PayPal, or Foxy.io
- Connect your account
- Tweak the settings
- Run a quick test payment (always test)
Once it’s live, clients can view invoices and pay without leaving the portal. One less thing to follow up on.
Step 7: Test, Optimize, and Launch Your Portal
The portal looks good, feels clean, but don’t ship it just yet.
We’ve learned to test it like we didn’t build it. That’s when the cracks show.
Here’s what we double-checked, and you should, too.

- Validate User Flows
- Check the login system, dashboard, messaging, and file-sharing for errors.
- Test form submissions, task updates, and project tracking.
- Verify Client Access Permissions
- Ensure clients only see their assigned files, messages, and dashboards.
- Check role-based access for different users.
- Assess Performance & Security
- Optimize load times, file sizes, and database queries.
- Test authentication, encryption, and password resets.
Relevant Read: How to Create a Client Portal in Notion
What Webflow Doesn’t Tell You Up Front
Webflow is an excellent no-code development tool. You’ll get full control, slick layouts, and a smooth build experience. But once you start building a client portal, a few limitations show up.
We ran into these early on:
You’ll Need a Paid Plan from the Start
Free plan? Not enough. As soon as you want gated content or logins, you’re upgrading.
And if you’re adding tools like Memberstack for auth? That’s another monthly bill.
Before your portal even launches, the stack starts to get expensive.
Native Membership Options are Still a Work in Progress
Webflow does offer native memberships, but it’s still in beta.
That means it’s not fully developed, and there’s no telling how or when things might change.
You don’t want to risk client access on something that might change mid-project.
Getting Everything Set Up Takes Time
Drag-and-drop sounds easy—until you’re piecing together dashboards, login logic, and support forms.
Compared to platforms like Agency Handy, where you get everything built in, Webflow takes more manual effort to bring everything together.
Some Features You Might Expect Just Aren’t There
If you’ve tried other client portal builders, Webflow might feel a little limited.
Task assignments? Nope.
Project management? Not built-in.
Workflow automation? You’ll need Zapier or something like it.
You have to stitch a lot together to get the portal feeling complete. It worked—but it took effort.
Agency Handy: The Ultimate Client Portal Software and Webflow Alternative
Sure, you can build your own portal from scratch.
Between the setup, third-party tools, and monthly fees stacking up, it started to feel like a full-time job.
That’s why we built Agency Handy for you.
Here’s what the platform offers:
Client Portal
Give your clients one place to view proposals, invoices, files, forms, opening tickets, and commenting feedback. Branded and secure, it’s everything your clients expect in a modern experience.

Service cataloging
List down and show your agency’s offerings in a service catalog.
Include multiple packages in each service with service descriptions, pricing, delivery timelines, and categories. You can add coupons to specific services to attract more leads.
And lastly, embed the catalog on your website or share it on social platforms.
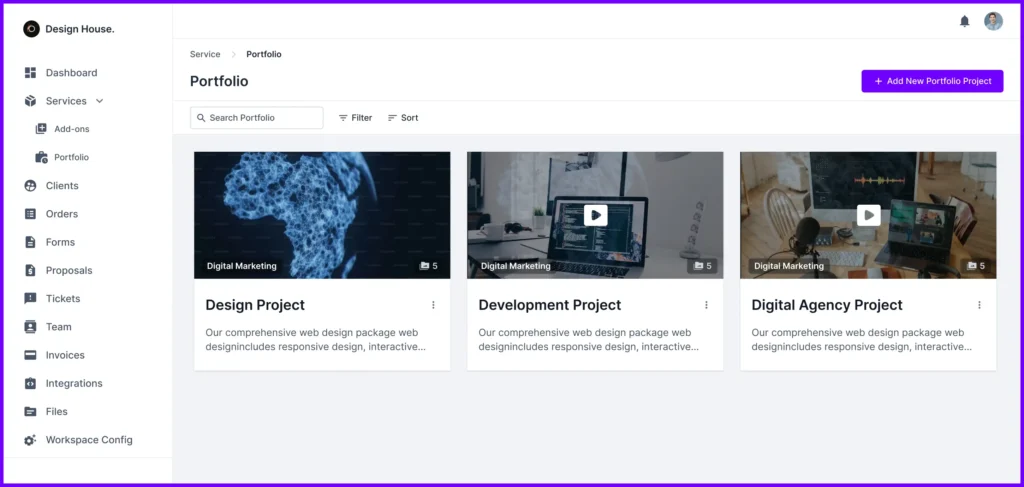
Portfolio Management
Show your best work with a built-in portfolio section and add to your services. Upload images, write descriptions of the projects, and files that you’ve done previously and successfully closed deals.
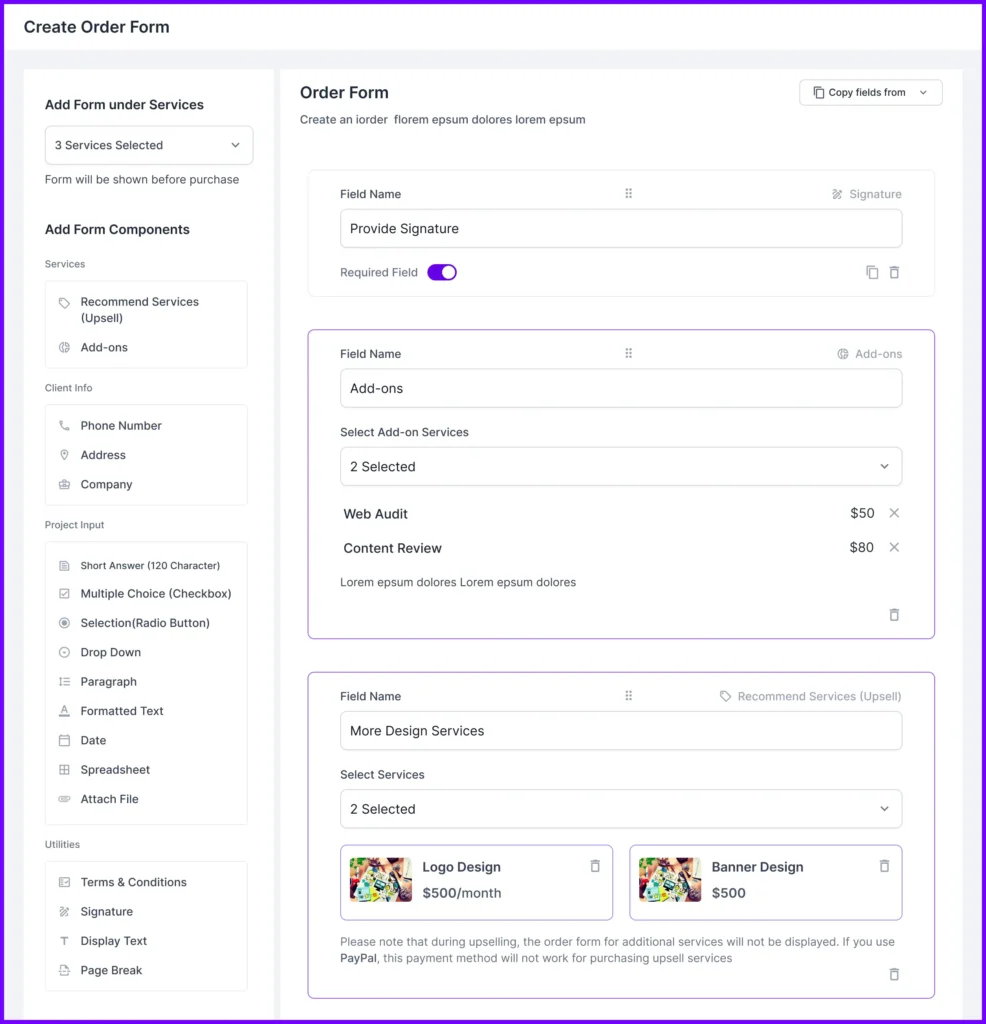
Forms and Service Add-ons
Customize drag-and-drop order forms with optional service add-ons, package tiers, and auto-generated invoices. Upsell services and make self-checkouts smoother.
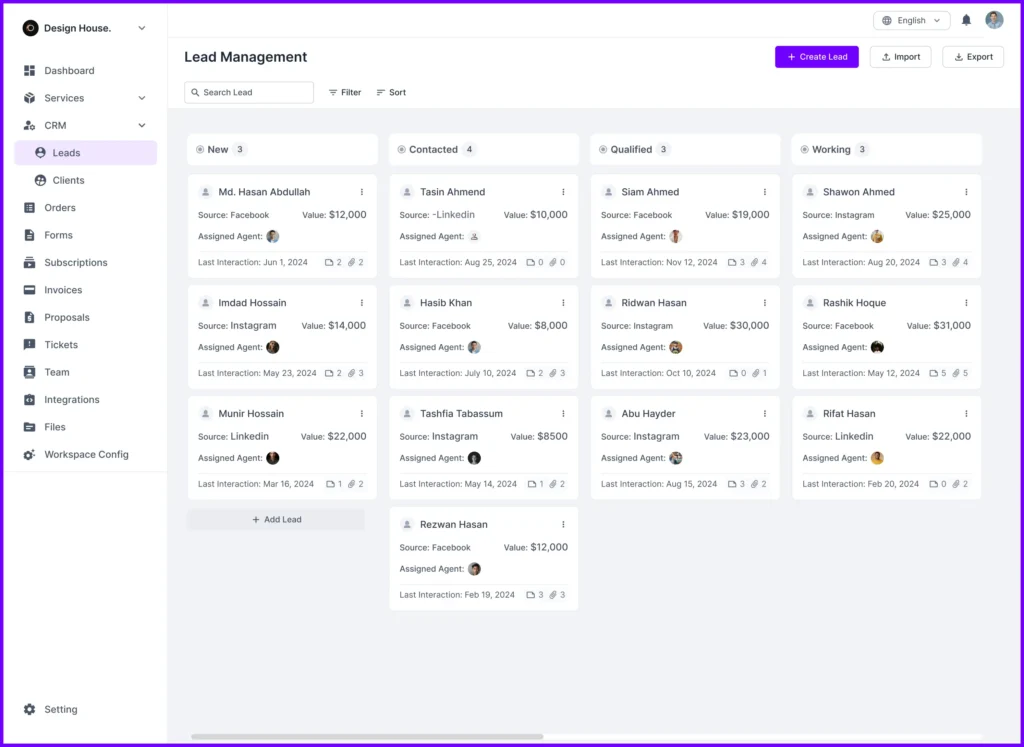
CRM and Lead Management
Turn leads into loyal clients with a CRM that tracks every interaction and opportunity. Monitor conversion pipelines through Kanban style lead board. You can assign to specific agents, store all necessary information and notes. Filter leads based on lead value, agent, source, and last interactions.
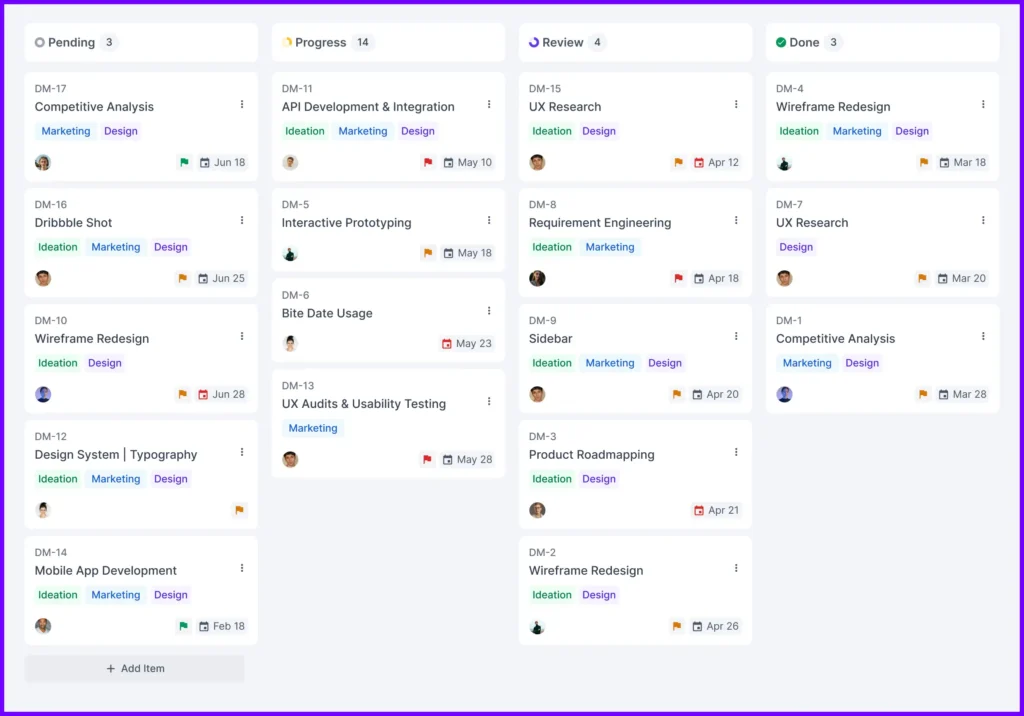
Order and Task Management
Stay on top of deliverables with intuitive order dashboards, task lists, due dates, and assignees. Built-in commenting, file sharing, and status tracking make collaboration seamless, whether it’s just you or a full team.
Billing & Taxes
Send polished invoices with flexible tax settings and currency support. Define tax types and rates based on your location, client country, or even state-level rules.
Choose whether tax is inclusive or exclusive, and bill in supported currencies like Omani Rial (OMR) with decimal precision for pricing accuracy.

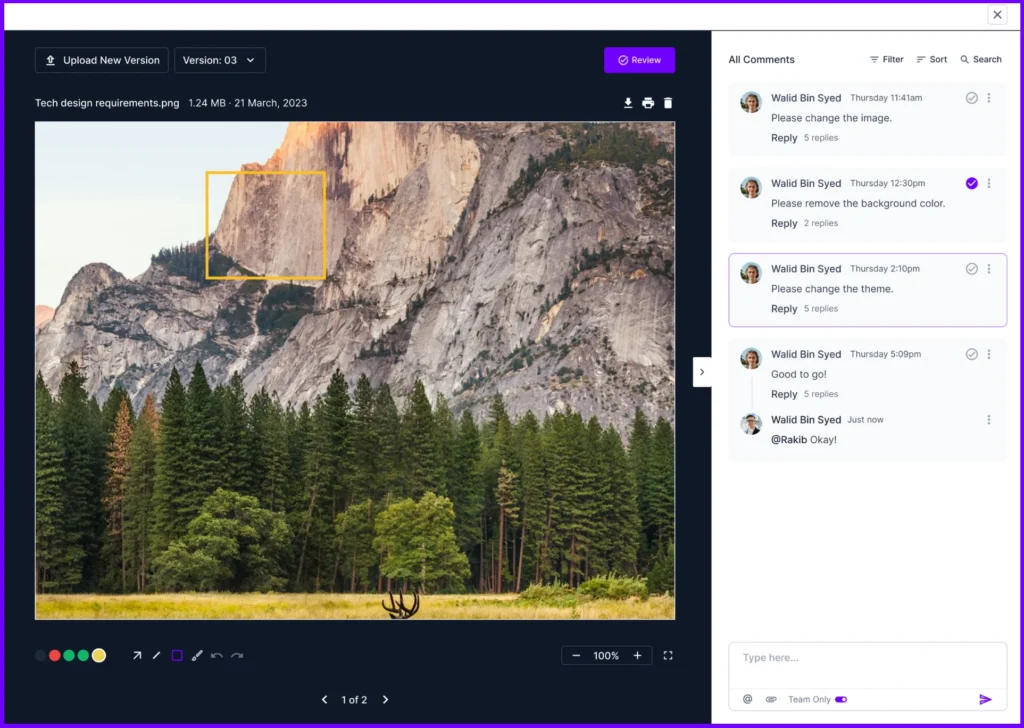
File Feedback and Annotations
Say goodbye to endless back-and-forth. Drop comments directly on images, documents, or PDFs so everyone’s always on the same page. The activity log keeps track of who made changes and with version control, your files can be restored anytime.
Multicurrency and Localization
Serve clients around the globe with multi-currency invoicing and country-specific tax logic. Agency Handy supports localization that adapts to your international operations. This includes supporting 14 languages.

Permissions and Team Roles
Manage confidential files and client info with roles and permissions settings. You can assign teammates roles like: Super Admin, Admin, Manager, and Assignee. Each role has specific permissions.

White Labeling
Make the entire platform yours. Add your agency’s logo, custom domain, brand colors, and email sender name. Whether you’re onboarding a new client or sending an invoice, everything looks 100% professionally branded.

Connect Your Webflow Client Portal Using Agency Handy
Setting up a basic client portal in Webflow is a solid start. But let’s be honest—it doesn’t take long before you realize you’re missing key pieces.
That’s where Agency Handy steps in—turning your Webflow site into a fully operational, all-in-one client portal without the Frankenstein setup.
Here’s how to connect both platforms together.
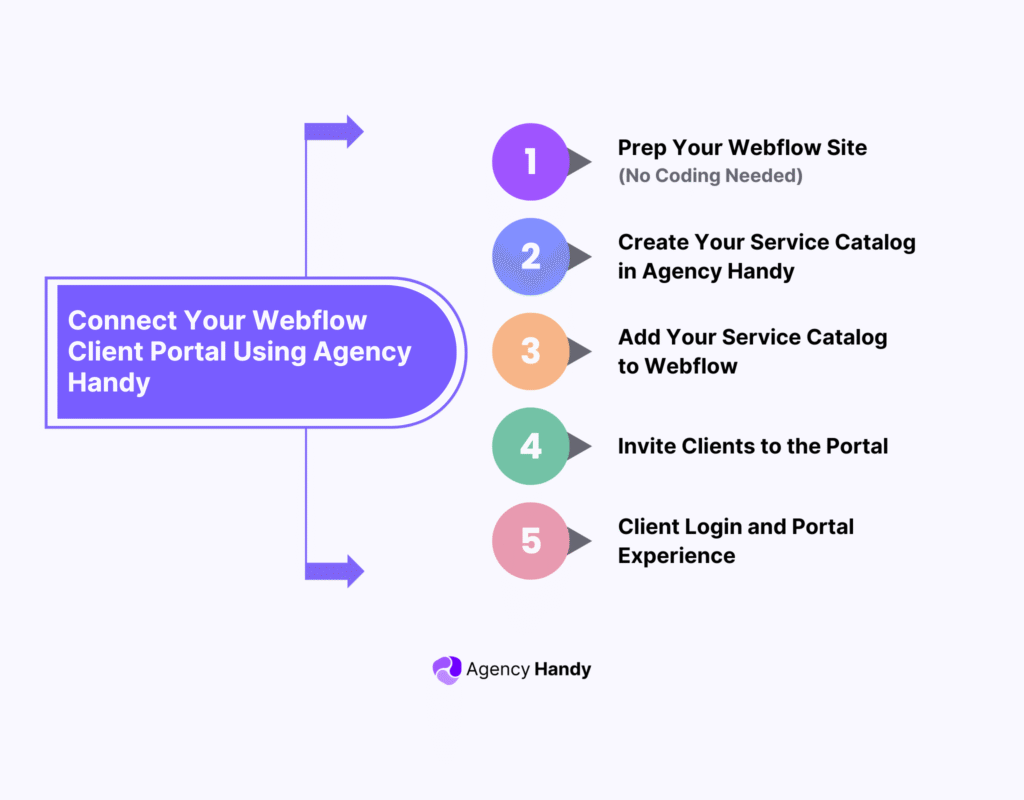
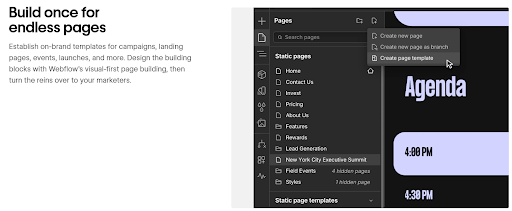
Step 1: Prep Your Webflow Site (No Coding Needed)
Before anything else, make sure your Webflow site is ready. You’ll want a basic structure in place—think login pages, a client dashboard, and maybe a “services” section.
If you’ve already got a Webflow site live, you’re good to go. If not, a clean template will do.
And no, you don’t need to touch a single line of code. We’ll use embed blocks and copy-paste magic to make this work.
Step 2: Create Your Service Catalog in Agency Handy
Now, log in to your Agency Handy dashboard and set up the services you want to offer:
- Head to Services > Create Service
- Fill in your service name, description, and a cover image
- Pick a pricing model: one-time or subscription
- Choose your currency
- Hit Next
Now, build service packages:
- Name each one
- Add deliverables
- Set billing cycles and pricing
- Add a trial period (optional)
Finally, configure service extras:
- Add Default Tasks to automate task creation in orders.
Step 3: Add Your Service Catalog to Webflow
Once services are ready, add them to your Webflow site:
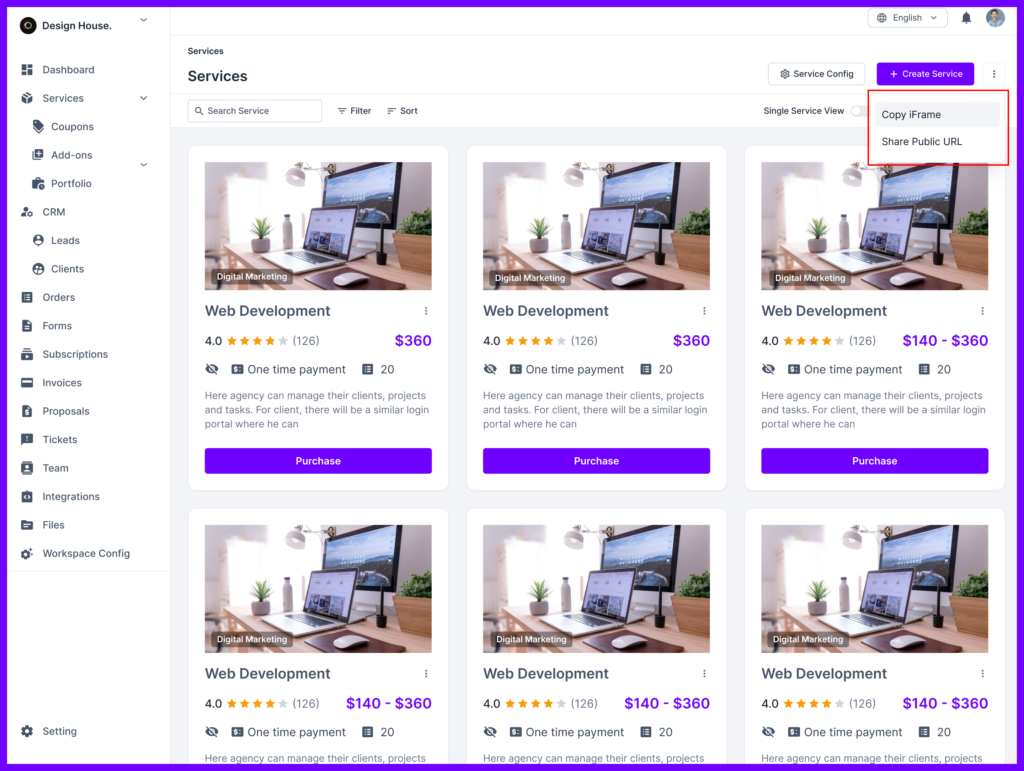
- In Agency Handy, go to Service Catalog.
- Click the three dots and choose Copy iframe.
- Open your Webflow project.
- Go to the page where you want the services to appear.
- Drag an Embed block onto the page.
- Paste the iframe code inside the block.
- Save and publish the page.
Here’s a quick example of how one of our users, Webkooker – a design agency, embedded their service catalog right into their pricing page.

Visitors who subscribe on their pricing page are redirected to their full catalog to continue browsing services. You can link either the full catalog or a single service—just use the Share URL from the top right and add it wherever you want on your site.
Clients click “Subscribe,” and boom—they land in the full service portal with more options to explore.
Step 4: Invite Clients to the Portal
Once someone buys—or if you’re manually onboarding—invite them into the portal:
- Go to CRM > Clients > Create Client in Agency Handy.
- Add the client’s information and email address.
- Click Invite.
They’ll get a branded email with a signup link, and from there, they’re in.
Bonus: You can customize that invite email in Agency Handy’s settings if you want it to match your brand voice.
Step 5: Client Login and Portal Experience
After receiving the invitation email:
- Clients click the Sign In link.
- Enter their email and password to log into the portal.
Final Note
To sum up, you may do client portals in Webflow, but you won’t be satisfied with it. You’ll require something every once in a while, and keep using plugins or building.
Hence, Agency Handy can be the right solution for you to manage services, clients, projects, and get paid. Plus, you can even manage leads and convert them when the lead is warm.
FAQs
How can I migrate existing client data into my Webflow portal?
If you’re switching from another platform, moving client data into Webflow takes a few careful steps. First, export your client records as a CSV file. Then, you can upload that file into Webflow CMS to make the data easy to manage. If you also need to migrate login or password info, you’ll want to use a tool like Memberstack to safely handle onboarding.
How can I ensure that each client sees only their data within the portal?
Webflow doesn’t have built-in tools for showing clients only their information. But you can easily fix that. By adding Memberstack, Outseta, or Wized, you can control who sees what. These tools let you set up private dashboards, so every client gets a personalized view without seeing anyone else’s stuff.
What are the most important features to include in a client portal for better client interaction?
A great client portal keeps things easy and organized for everyone. At the very least, you should set up a secure login, a personal dashboard with project updates, a place to view invoices, and a simple way to message back and forth. These basics go a long way toward building trust and saving time.
What are the security risks of a client portal, and how do I protect client data?
Security is a big deal when you’re handling client info. Webflow already protects your portal with SSL encryption, which keeps data safe while it’s moving online. But you can take it even further. Adding two-factor authentication (2FA) through Memberstack or Outseta makes it much harder for anyone to break in and helps you protect sensitive client data.
Can I create a multilingual client portal in Webflow?
Yes, you can! Webflow lets you build a multilingual portal either by duplicating pages manually or by using tools like Weglot or Polyflow. You can even add a simple language switcher to your menu, making it easy for clients around the world to use your portal in the language they prefer.